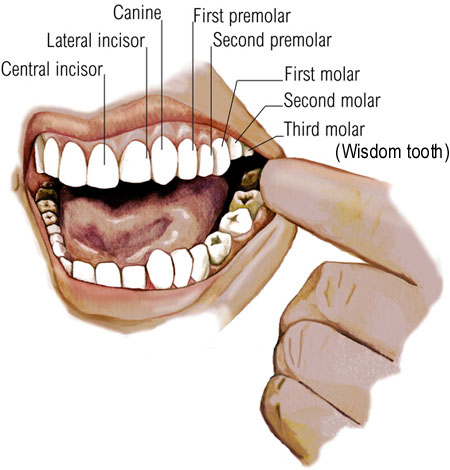
People often know they want straighter teeth without quite understanding what is misaligned or why. Orthodontic problems come in several recognizable types, each with its own causes and its own approaches to correction. Getting familiar with these common issues demystifies the field and helps you understand what an orthodontist is actually looking at when they examine your bite.

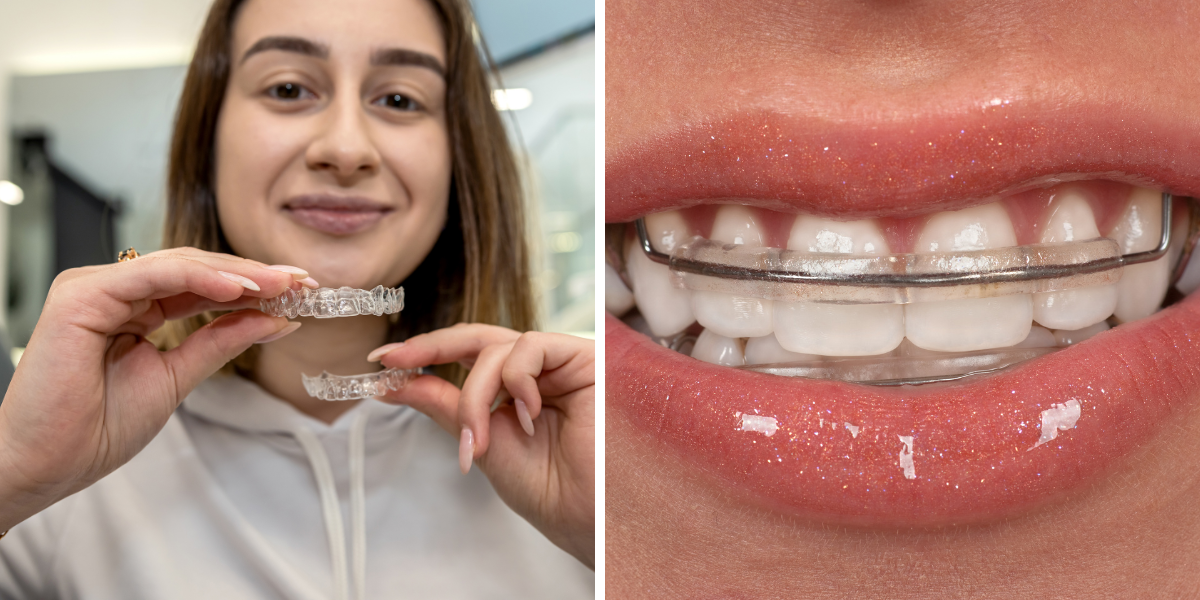
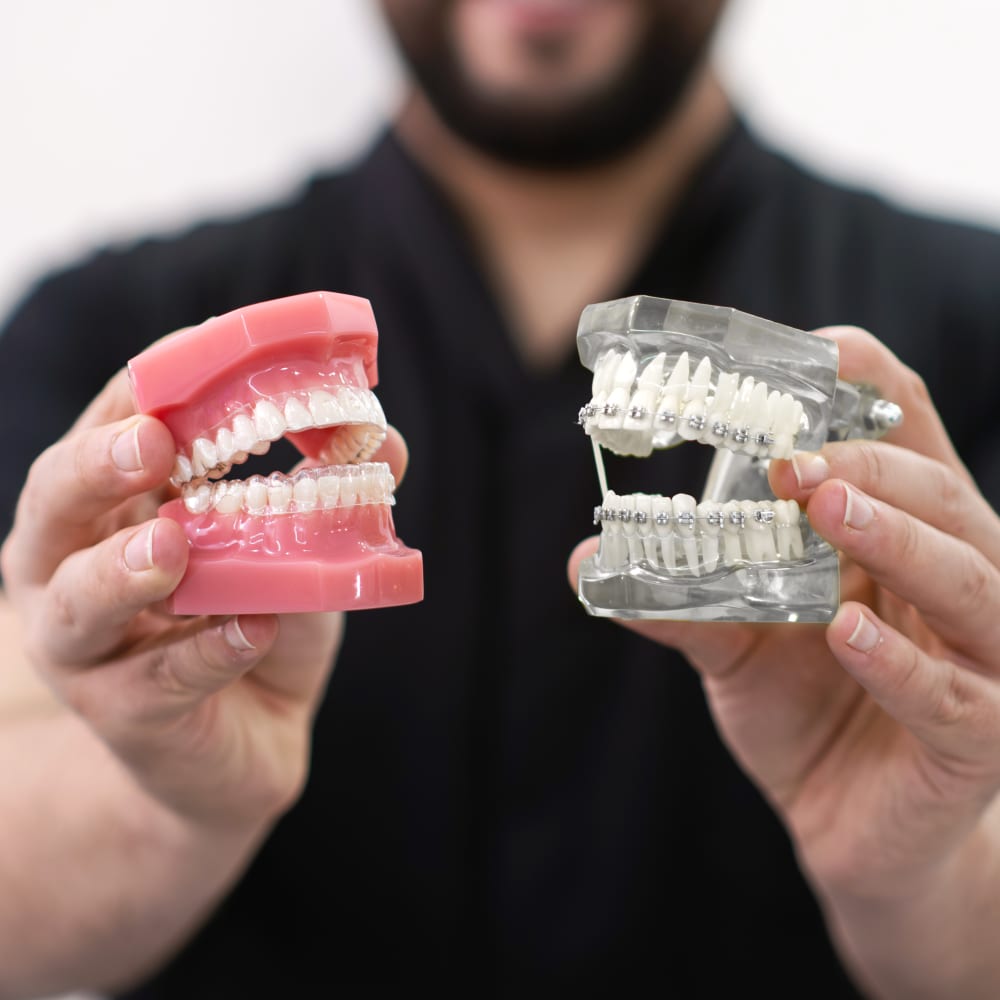
Crowding is the problem most people picture first. It happens when the jaw lacks enough room for all the teeth, so they overlap, twist, and crowd together. Beyond the appearance, crowding makes thorough cleaning difficult and raises the risk of decay and gum issues. Treatment typically involves creating or using space, sometimes with expansion in younger patients, and then guiding the teeth into proper alignment with braces or aligners.
Spacing is the reverse situation, with gaps between teeth. These gaps can result from teeth that are small relative to the jaw, from missing teeth, or from certain habits. While some people are content with minor spacing, larger gaps can trap food and affect confidence. Orthodontic treatment closes the spaces by moving the teeth together, and in cases involving missing teeth, the plan may coordinate with other dental work.
Overbite refers to the upper front teeth extending too far over the lower ones. A deep overbite can cause the lower teeth to bite into the roof of the mouth and can contribute to uneven wear over time. Correcting it usually involves moving the teeth and, in growing patients, sometimes guiding jaw development so that the upper and lower arches relate to each other more harmoniously.
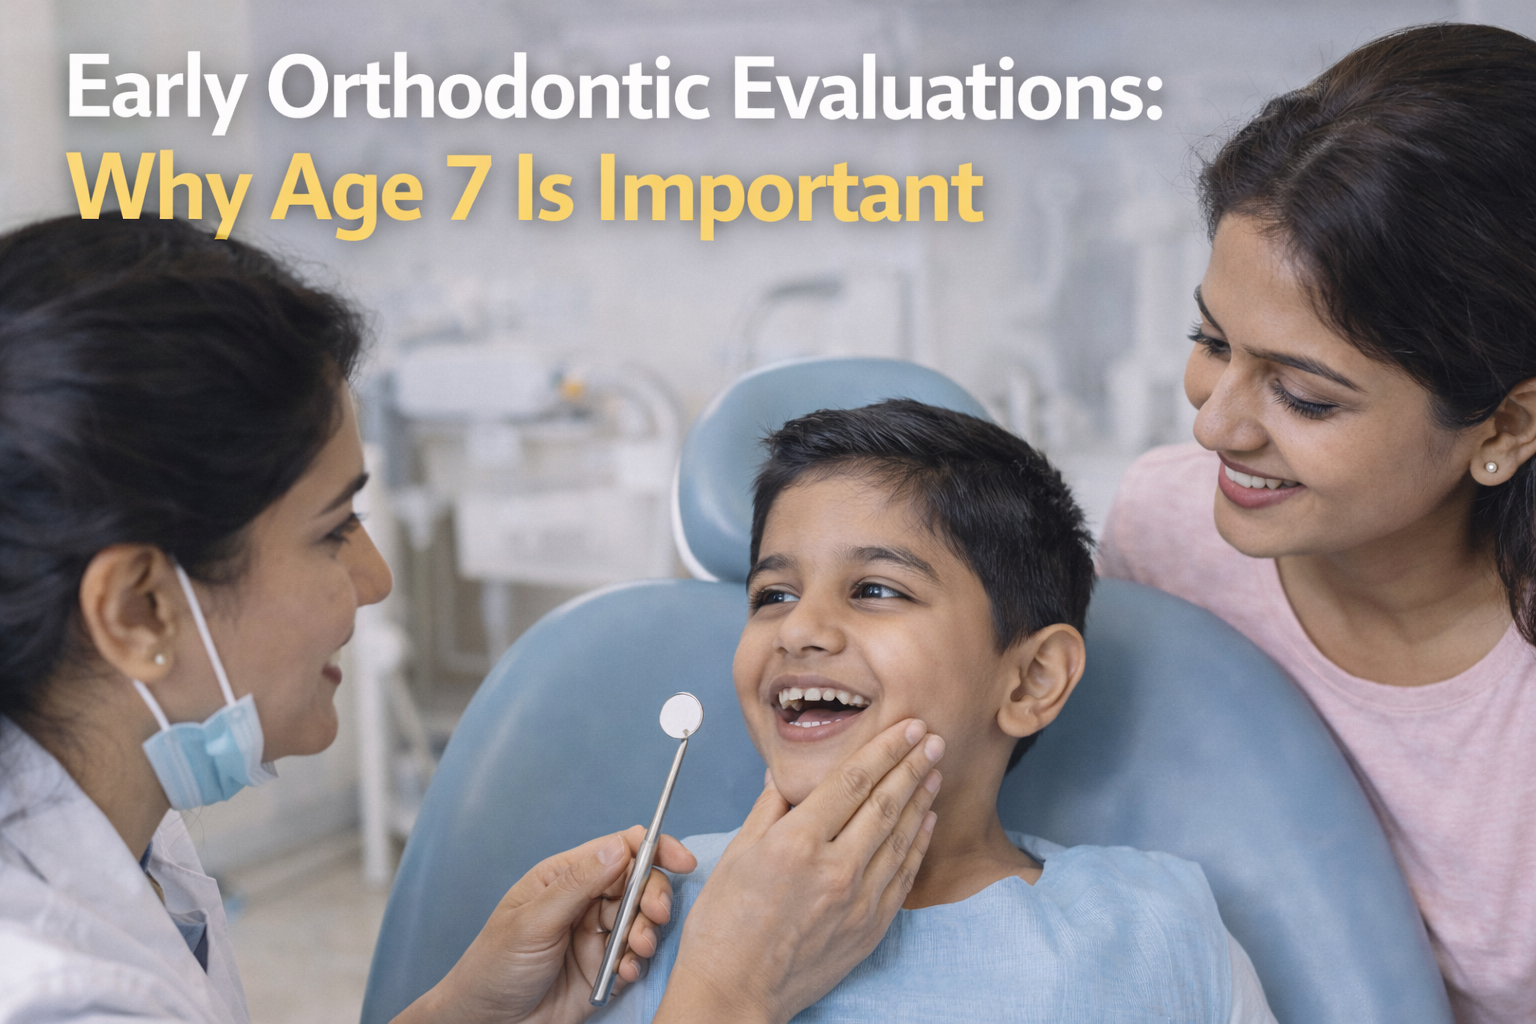
Underbite is the opposite, where the lower teeth sit ahead of the upper teeth when biting. It often has a skeletal component related to jaw growth, which is why early evaluation is so valuable in children. A skilled orthodontist can sometimes guide jaw development during childhood to improve an underbite, while more severe cases in adults may require a combination of orthodontics and other interventions.
Crossbite occurs when some upper teeth sit inside the lower teeth rather than outside them, either at the front or sides of the mouth. Left untreated, a crossbite can cause uneven wear, gum problems, and asymmetric jaw growth in children. Treatment may involve widening the upper arch, especially in younger patients whose jaws are still developing, followed by aligning the teeth.
Open bite describes a situation where the upper and lower front teeth do not touch even when the back teeth are closed, leaving a visible gap. It is sometimes linked to habits like prolonged thumb sucking or tongue thrusting. Addressing the underlying habit is part of treatment, alongside orthodontic work to bring the teeth into proper contact so that biting and chewing function correctly.
Protrusion, where the front teeth stick out noticeably, is both a cosmetic and a practical concern, since protruding teeth are more prone to injury. Treatment moves the teeth back into a more protected and balanced position. In growing patients, the approach may also account for jaw relationships, while in adults it focuses on repositioning the teeth themselves.
Midline discrepancies, where the center of the upper teeth does not line up with the center of the lower teeth, are subtler but can affect both appearance and function. Orthodontists assess the midline as part of a complete evaluation, and correcting it is often part of comprehensive treatment that addresses the bite as a whole rather than just one isolated feature.
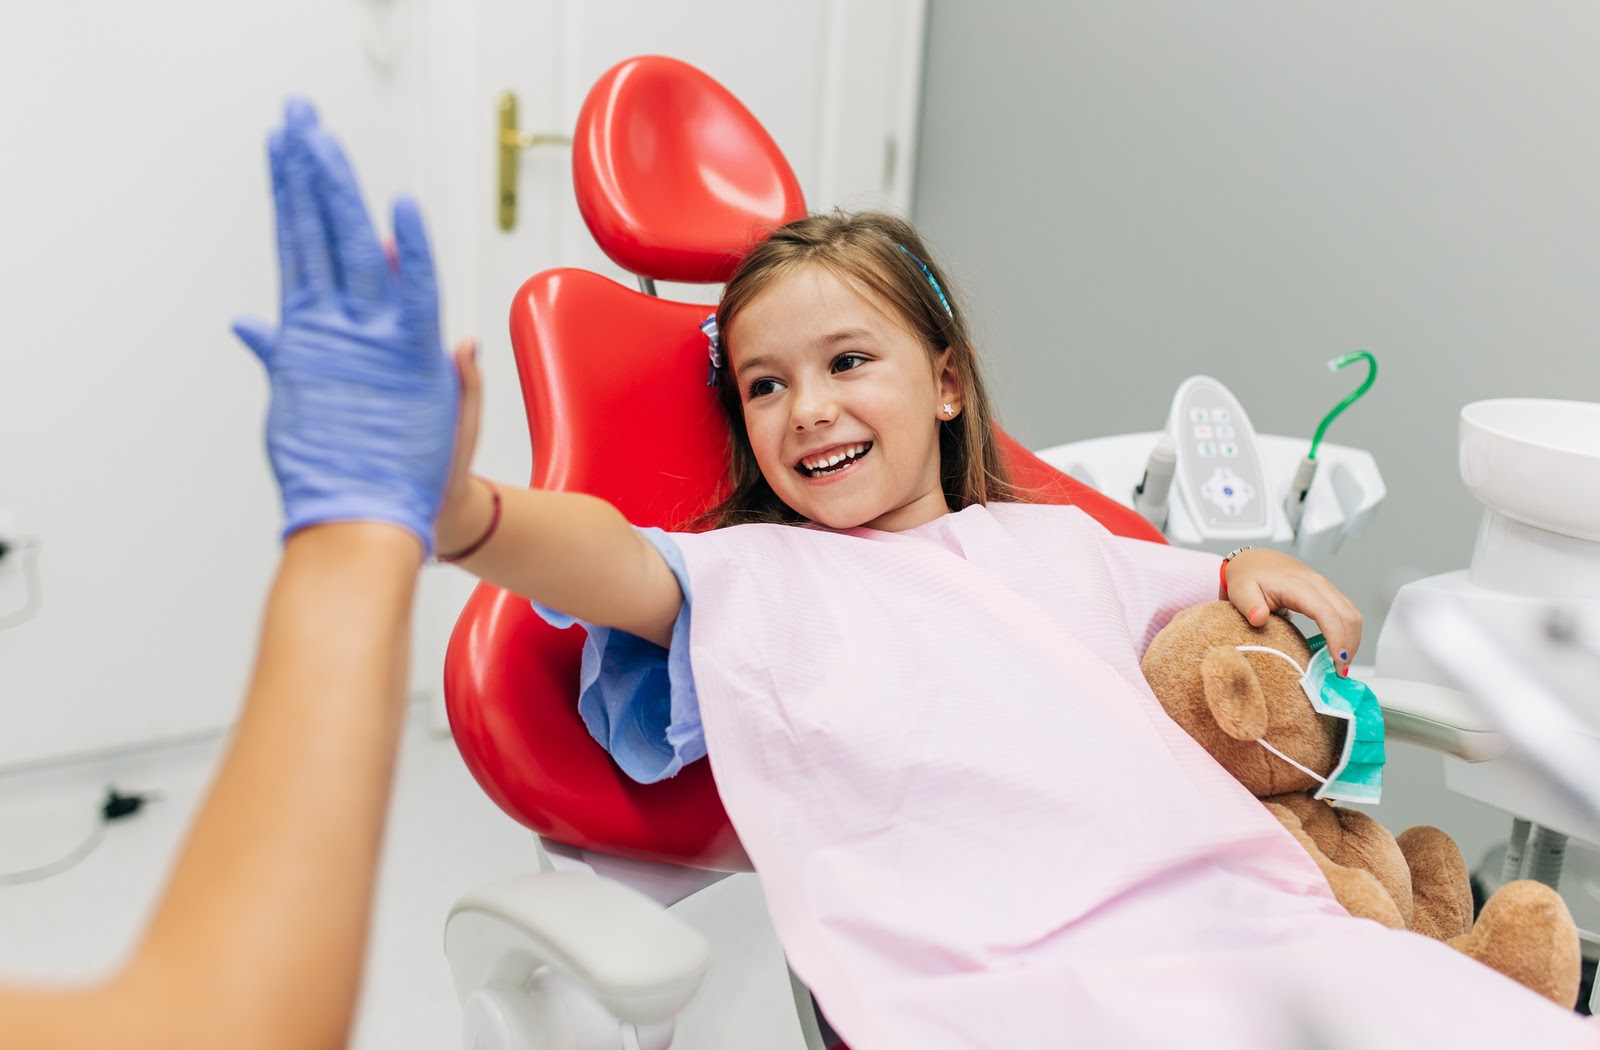
Understanding these categories also helps patients have more productive conversations with their orthodontist. When you can describe what you are noticing in rough terms, whether it is crowding, a gap, or teeth that do not seem to meet right, you give the provider a useful starting point and you follow their explanation more easily. It also helps you ask better questions about your own treatment, since you understand what is being corrected and why a particular approach was chosen. None of this replaces professional diagnosis, of course, but an informed patient tends to be a more engaged and satisfied one. People who understand the reasoning behind their treatment are more likely to stick with it faithfully and to care for their teeth well throughout. Knowledge turns treatment from something that is done to you into something you participate in, and that sense of partnership consistently leads to better experiences and better results.
What ties all of these together is that an orthodontist does not look at any single problem in isolation. They evaluate how the teeth, the bite, and the jaw all relate, then build a plan that addresses the whole picture. That is why a thorough initial examination is so important, and why two people who both want straighter teeth may end up with quite different treatment plans. Understanding the common problems is a useful start, but a professional evaluation is what turns that general knowledge into a path tailored to you.